Right, well it all started because I wanted to build a model B that had all the extras in it that my parents couldn't afford to buy me when I was younger. I have a collection of about 30 beebs stored in the loft, as rescued from friends, schools, skips, and so on. My idea was to go through each machine, pull out the useful parts from each one (motherboard from one, power supply from another, keyboard from another, ROM-board from another, etc) and build a machine that I would keep set up in my office. Just for playing Chuckie Egg, if I'm honest.
One of the beebs was a Viglen-housed one, with a separate keyboard to the main unit. However, I wasn't that impressed with the rather crummy paint job done on the housing, and the plastic keyboard case felt a bit flimsy. I also had a spare keyboard housing: a much more sturdy metal one that (I think) came from a company called "Oak" that seemed to do housings for beebs used in industrial situations.
But what to use for the main body? Well, I was all set to mount it in a PC transparent acryllic case and stick some tacky lights in it. That was, until someone at work gave me a Silicon Graphics Indy which would otherwise have been thrown in the skip - complete with fashion accessory carrying bag!
If you are an SGI lover you may not want to read any further!
First I needed to remove the guts. I disconnected the power supply and the disk drives from the mainboard, and removed the drives (with their mounting bracket). The graphics card is mounted on top of the main motherboard, and is secured both with mounting pillars, and by the sockets that are mounted on the chassis. Not that difficult to remove - especially if you don't care about breaking it!
To remove the power supply I first levered up the lid covering it (with the bright yellow sticker on it saying DON'T OPEN THIS - ARE YOU MAD?). I removed the huge (and filthy) fan. I disconnected the mains socket from the power supply PCB, but kept the earth lead connected to the chassis. I also kept the power cable connected between the computer and the mains socket (but with the switch OFF, obviously) so that things were earthed at all times. I very carefully removed the screws holding the PCB in, and pulled the PCB out.
I removed all the unnecessary leads, and gave it a good dusting.
The Beeb motherboard will fit inside the case, but it has to be rotated round 90-degrees to the way you'd ideally like to install it. This is because the SGI chassis is actually two separate units hooked together - one for the power supply and one for the guts. So to mount it in the ideal way you'd really have to do some SERIOUS metalwork. It's not worth it, in my opinion. You really don't need that many connections mounted on the chassis - I only intended to do the composite-video out and the keyboard connection, as you'll see later. New sockets and short flyleads will do the job fine.
The space left by the power supply will take the smaller Beeb one fine.
Now, I am totally unpractical, so for the job of installing the new hardware I took the chassis round to my Dad, along with the donor Beeb. I left it with him for the weekend - I just wanted him to mount the PCB (and maybe the power supply too) and then I'd do all the internal wiring.
Anyway, I think he was bored - or perhaps he was just enjoying himself too much to stop. By the time I went 'round to visit a few days later he'd done practically all the work I was intending to do. He'd made a considerably better job of it than I would have done, too!
He'd removed the power supply PCB from the metal shell in the beeb and mounted it in the SGI. He'd cut a hole for the mains-switch and wired that in, too. He'd connected the SGI's internal speaker. He'd mounted the beeb motherboard, but had also installed a 25-way D plug on the chassis for the external keyboard, and wired that in with a ribbon cable. He had also found the housing for the external keyboard that I'd stuffed in the bottom of the bag, cleaned it up, painted it blue with some car paint, cut a shiny metal panel for the front, and installed the keyboard in it.
When I got it home I connected it up to make sure it all worked - woohoo! Then I installed a Watford Electronics' sideways ROM board and added a choice few ROMs. I've put an external ROM socket in (trailing out of the back) so that I can test ROMs without breaking pins. I had to resolder some wires coming off the ROM board, and the battery backup for the RAM had long since leaked, so that all needed cleaning up. But now it works fine!
I found a beeb with a keyboard with the more rounded keys - much less common than the usual variety. To me it just feels a bit more pleasant to use.
Replace keyboard LEDs with either blue or white ones. Would keep the colour scheme better.
Find a different use for the cassette motor LED.
Mount user port on chassis - with a short ribbon cable.
Look at VGA adaptors - There are a number of boxes appearing which claim to let you connect a games-console to an ordinary VGA monitor. Now, if these are doing proper scan-doubling then that would mean I could connect the beeb to a trendy-looking TFT monitor. I'd just need to spray the case marble-blue!
Replace the beeb power supply - The SGI power button is on the front of the case. Switching on an SGI is done with an electronic signal. But the power switch for the Beeb is mechanical. So a nice thing to do would be to replace the existing power supply with something like a mini-ATX (NTX?) power supply, and use the push button at the front to control it. This might need something like a simple PIC circuit to control it.
Some extra sound circuitry - There are push buttons at the front of the case for volume control, which would be nice to use. Might even be nice to provide a line-out or headphone socket at the back of the computer.
Please don't mock the decor. We haven't long since moved in!
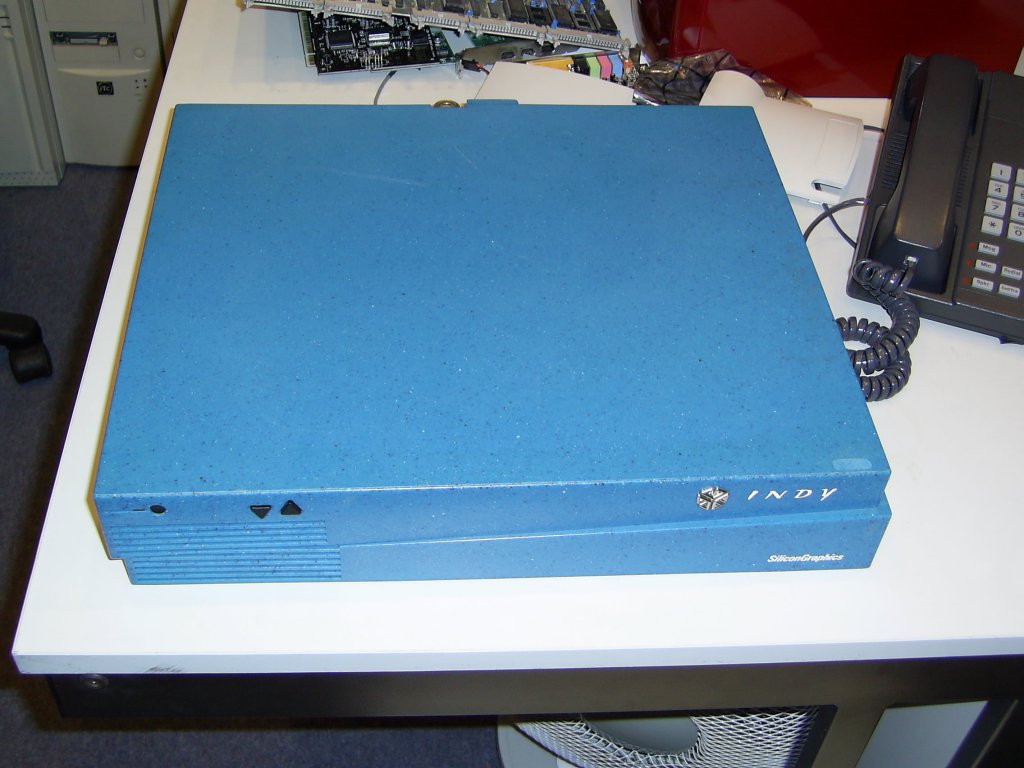 |
The SGI, as I received it ... |
 |
... and with the lid off. |
 |
And again. |
 |
Fitted with Beeb motherboard and power supply. No clothes on. Saucy! |
 |
This time showing off some of her sockets, the dirty minx. |
 |
Close-up of the keyboard connector (25-pin D) and the composite video out. I've used an ordinary phono socket rather than BNC - I keep losing the adaptors! |
 |
Close-up of the keyboard ribbon cable at the chassis. |
 |
... and at the motherboard. |
 |
How the socket and switch are wired in the PSU. The 45-degree plate with the circular hole is where the fan used to be mounted. |
 |
Close up of the Beeb PSU installed. |
 |
And again. |
 |
And again. |
 |
And again. Also shows the SGI internal speaker. |
 |
A shot showing the internal power wires going to the board. |
 |
A shot from above. Main lid is off, but PSU protective cover is on. The ROM board is also installed. |
 |
And again. |
 |
Power supply socket and switch close up. |
 |
Close-up of the sideways ROM board. |
 |
This time from above. |
 |
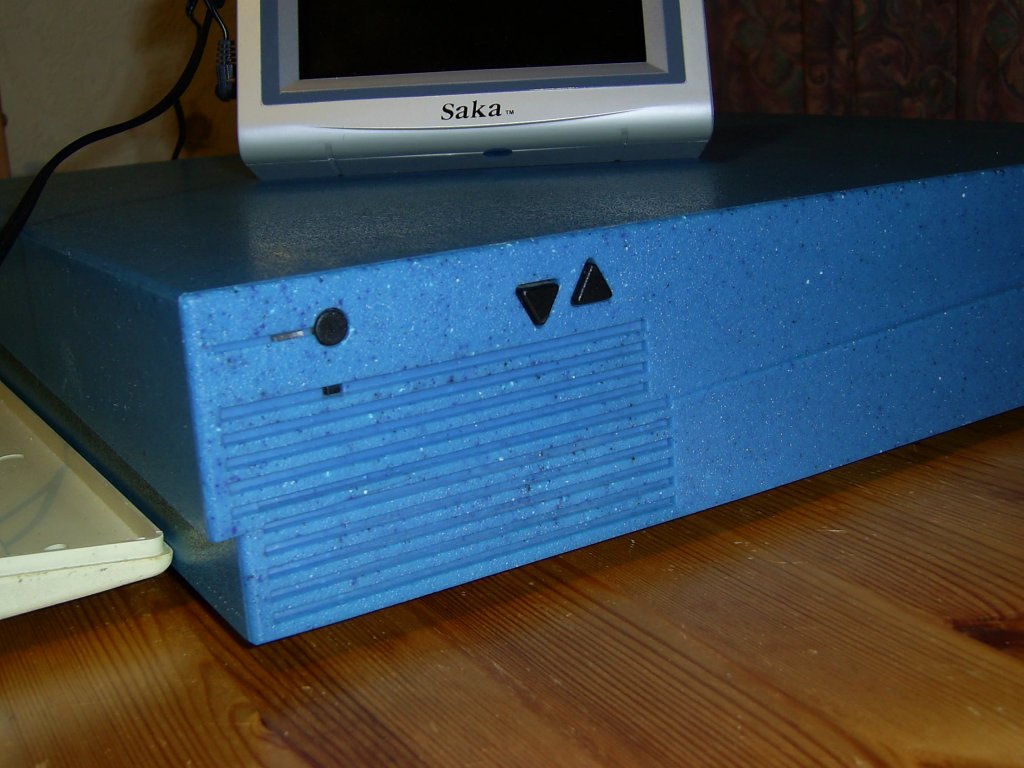
A shot of the front, showing the power and volume buttons. |
 |
And again. |
 |
And again. |
| Showing the SGI logo closeup. | |
 |
The front, again. |
 |
From above. |
 |
The rather snazzy keyboard. My only complaint is that fresh car paint smells like cat piddle. |
 |
And again, from round the back. Rather let down by the mundane-looking cable! |
 |
And again. Also showing the mini-monitor that I keep for testing such projects. |
 |
A shot from the back. Also showing the ribbon-cable for the ZIF ROM socket. |
 |
Unit and keyboard together. |
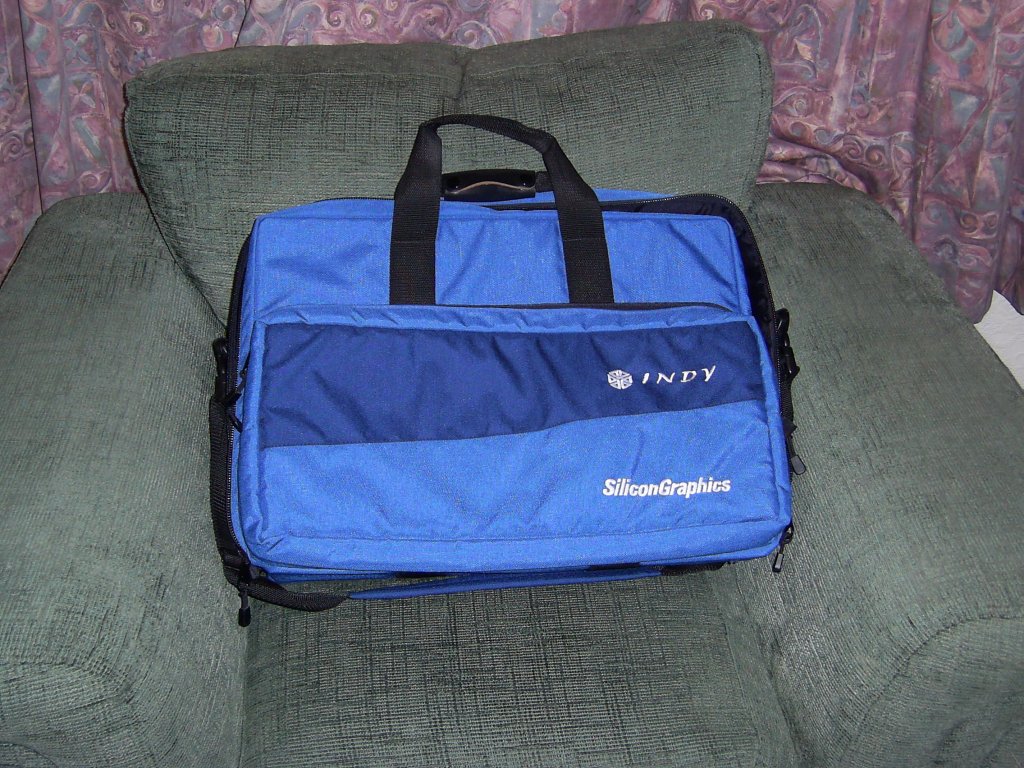 |
The SGI carry-all for the geek on the go! |
